Create a Status Page
A step-by-step tutorial to create and publish your first status page
| Time | ~5 minutes |
| Level | Beginner |
| Prerequisites | statusas account, at least one monitor (see Create your first monitor) |
In this tutorial, you'll create a public status page to communicate your service's health to users. A status page is a transparent way to show real-time uptime information and keep your users informed during incidents.
By the end you'll have a public status page with a component for each service you want to show, and a working understanding of where custom domains and access control are configured.
Tip
Coming from another provider? statusas can import components, incidents, maintenances, and subscribers from your existing setup. See the migration guides for Atlassian Statuspage, Better Stack, Instatus, or Checkly instead of building from scratch.
Get started
1. Create the status page
Navigate to the Status Pages page from the sidebar and click the Create Status Page button. This will open a new configuration screen.
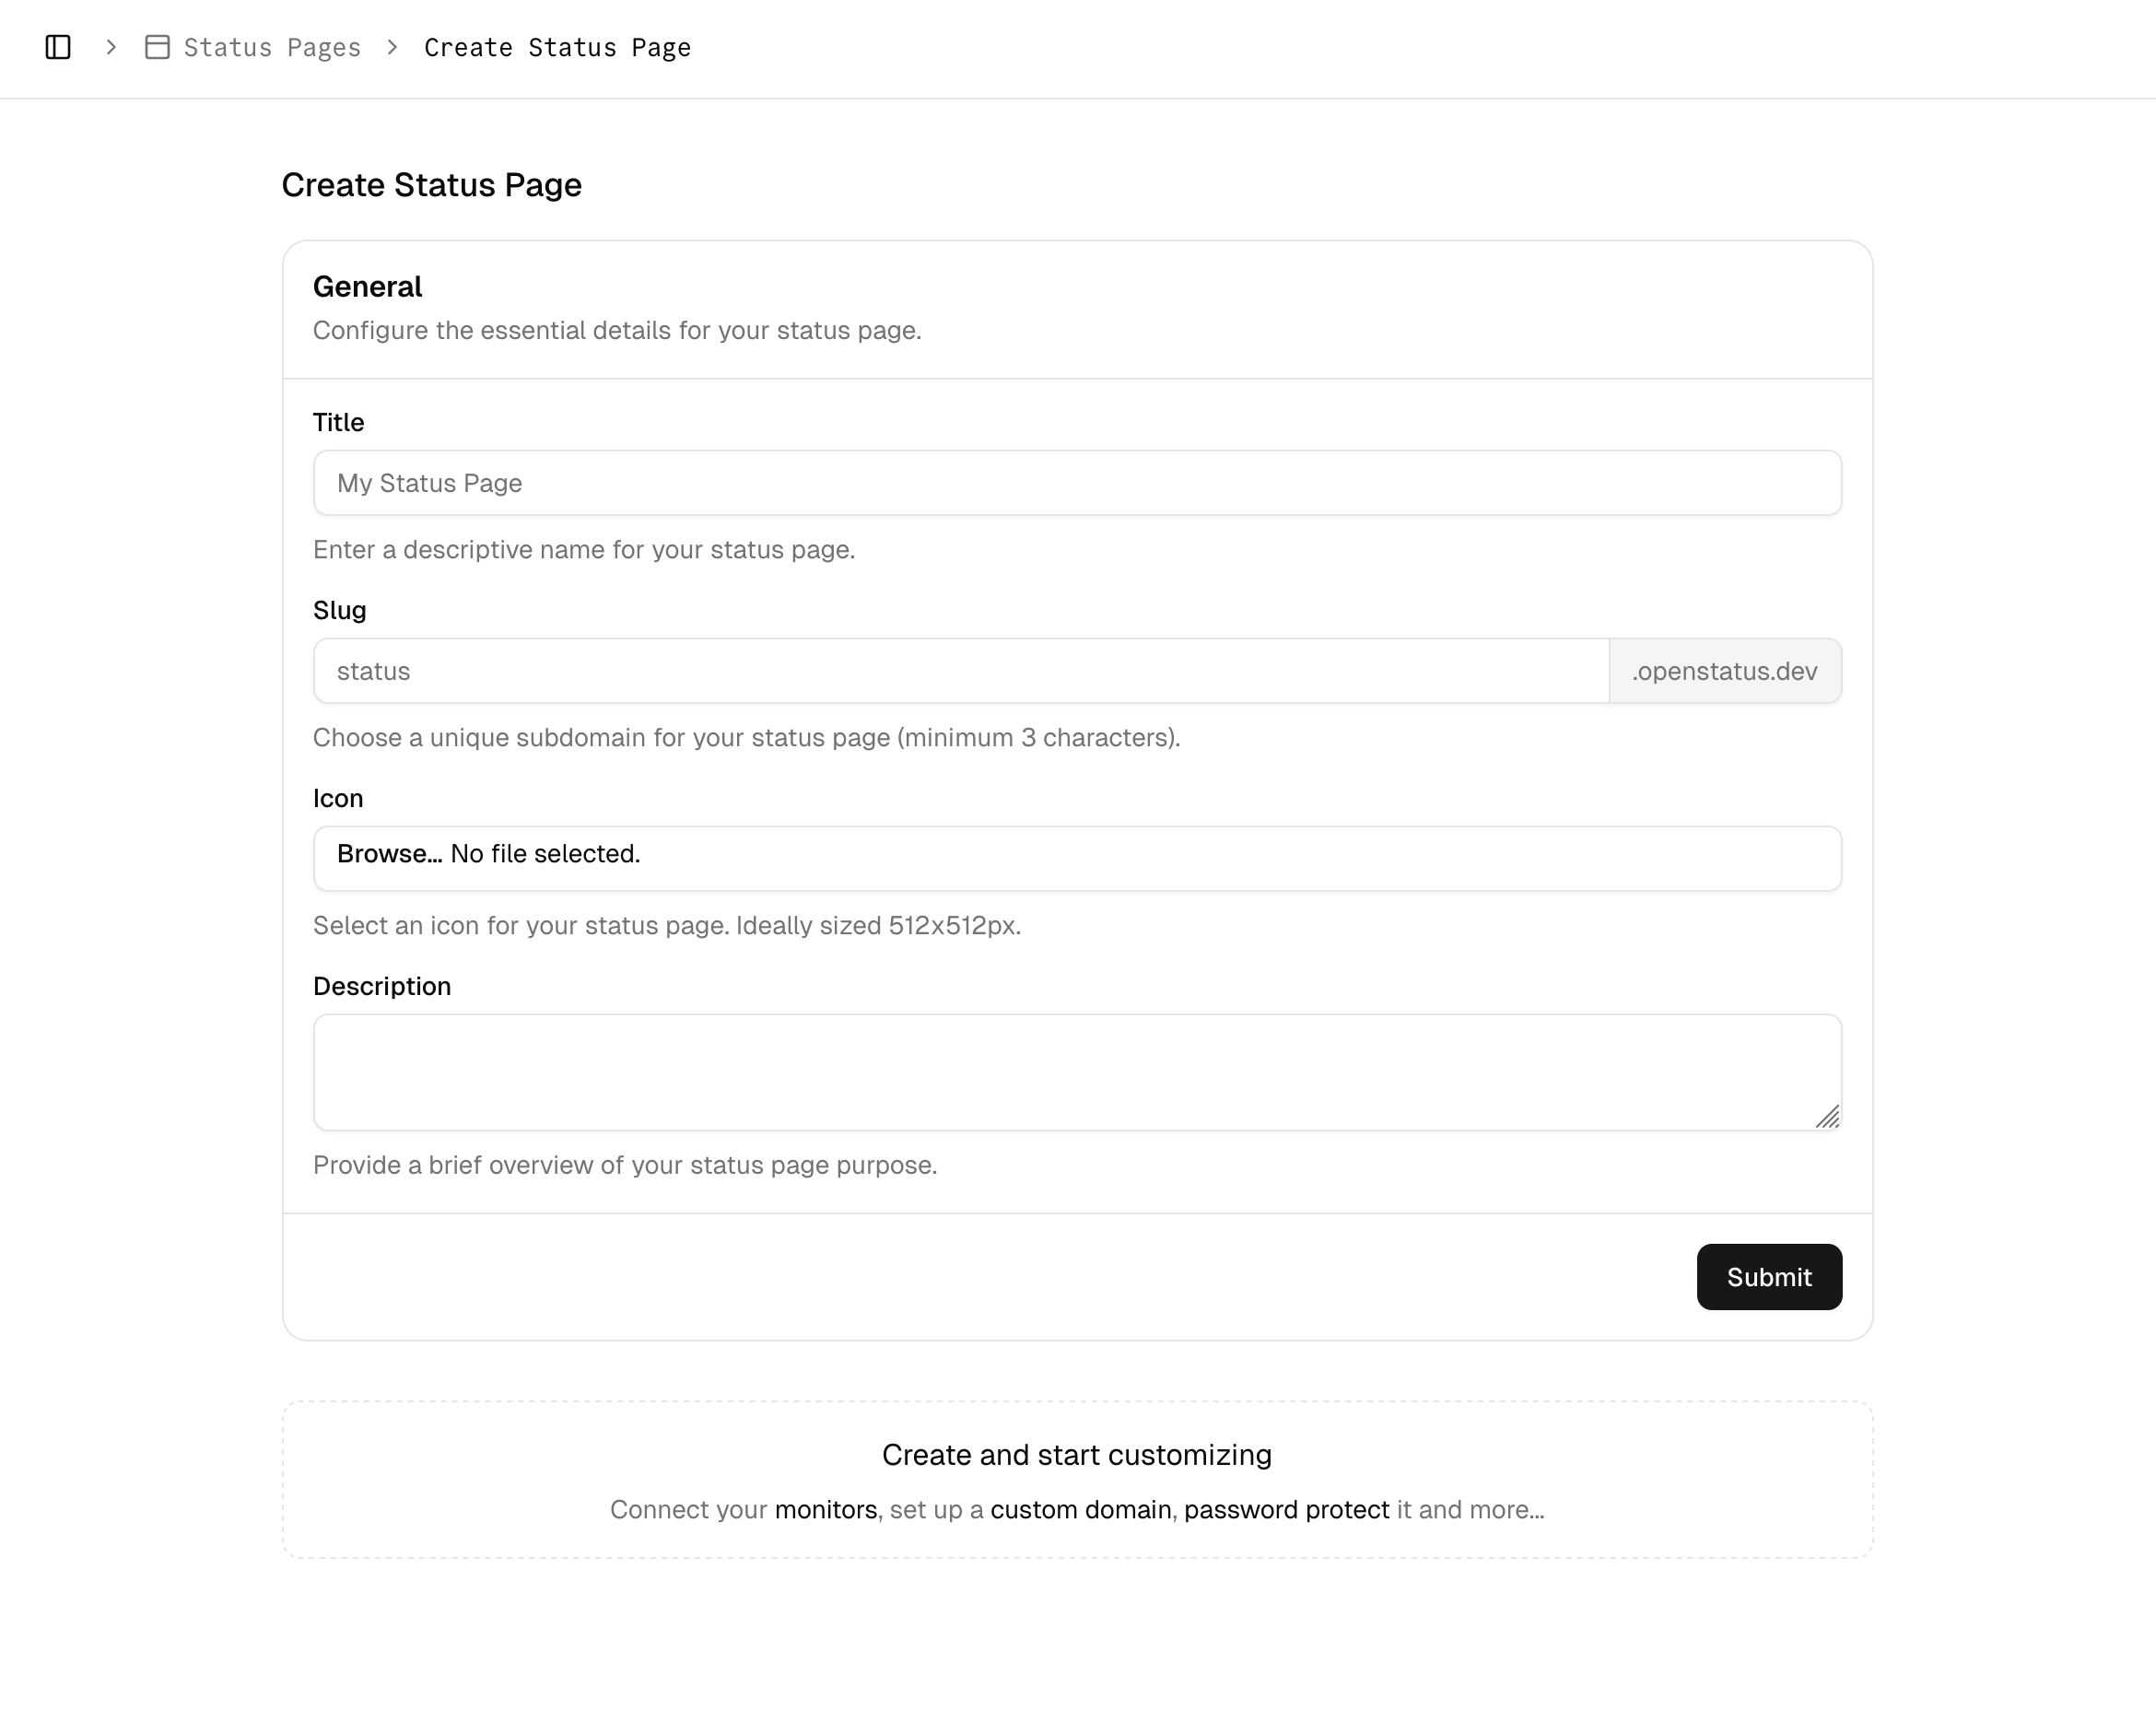
2. Name the page
The create form asks for four things, and only the first two are required:
- Title — a name for your status page (e.g. "Acme Status" or "API Health").
- Slug — the subdomain your page is served from (e.g.
acmecreatesacme.statusas.lt). - Icon — an optional favicon shown in the browser tab.
- Description — an optional line shown under the title on the public page.
Submit, and you land on the page's Settings tab. Everything else — components, custom domain, access control, theme, locales — is configured from here on the page's own tabs.
3. Add components
Open the Components tab and add a component for each service you want to show. A component is what your visitors see, and it comes in two kinds:
- Monitor components are linked to one of your monitors and track its status automatically.
- Static components have no monitor behind them; you drive their status with status reports and maintenance windows. Use these for third-party dependencies.
Give the component a name your users will recognise — it does not have to match the monitor's internal name. See the page components reference for groups, ordering, and how each event type affects a component's status.
Checkpoint: open your status page (the link is at the top of the page's settings). You should see each component listed with its uptime bar.
4. Optional: custom domain
On the Settings tab, the Custom Domain card lets you serve the page from your own
domain (e.g. status.yourdomain.com) instead of the *.statusas.lt subdomain:
- Enter your domain and submit.
- Configure DNS based on your domain type:
- Subdomain (e.g.
status.yourdomain.com): add a CNAME record pointing tocname.statusas.lt. - Apex domain (e.g.
yourdomain.com): point it at the same name with ALIAS or ANAME — plain DNS does not allow a CNAME at the apex.
- Subdomain (e.g.
- Wait for DNS propagation (usually a few minutes, up to 48 hours).
- If the domain is already served by someone else, ownership has to be proved with a TXT record first. The dashboard shows the exact name and value when that step applies.
The dashboard displays the exact records to configure after you save the domain. See the status page reference for the full DNS table.
5. Optional: restrict access
Also on the Settings tab, the Page Access card controls who can see the page. Password protection is the simplest option — set a password and visitors are prompted before the page loads, which is what you want for an internal page. Magic-link and IP-range restriction are available as paid add-ons; the status page reference covers all four access types.
What you've accomplished
- Created your first status page
- Added components so visitors can see service health
- Learned where custom domains and access control live
What's next
- Configure your status page — customise the appearance and add more features.
- Building trust with status pages — learn how to communicate effectively.
Learn more
- Status page reference — complete configuration options.
- Understanding uptime values — how uptime is calculated.